环境
系统:Ubuntu 14.04.1 LTS
下面所有的安装都通过apt-get的方式,为了防止安装过程报错建议先执行一次更新
MySQL安装
安装期间会出现类似如下的Y/N选择,直接Y 回车即可(下同)
Reading package lists... Done
Building dependency tree
Reading state information... Done
The following extra packages will be installed:
libaio1 libdbd-mysql-perl libdbi-perl libmysqlclient18 libterm-readkey-perl
mysql-client-5.5 mysql-client-core-5.5 mysql-common mysql-server-5.5
mysql-server-core-5.5
Suggested packages:
libclone-perl libmldbm-perl libnet-daemon-perl libplrpc-perl
libsql-statement-perl tinyca mailx
The following NEW packages will be installed:
libaio1 libdbd-mysql-perl libdbi-perl libmysqlclient18 libterm-readkey-perl
mysql-client mysql-client-5.5 mysql-client-core-5.5 mysql-common
mysql-server mysql-server-5.5 mysql-server-core-5.5
0 upgraded, 12 newly installed, 0 to remove and 123 not upgraded.
Need to get 0 B/9,260 kB of archives.
After this operation, 96.5 MB of additional disk space will be used.
Do you want to continue? [Y/n]y
中途会出现新的界面设置MySQL的root用户密码
首先设置root密码:yourpassword
然后重复输入root密码:yourpassword
等安装结束后输入以下命令查看是否成功
正常会显示类似以下的版本信息,则安装完成
mysql的配置文件在:/etc/mysql/my.cnf
例如:若要允许远程访问请注释my.cnf 的 bind_address 127.0.0.1
Nginx安装
执行以下命令安装
安装非常简单,安装结束后可以通过以下命令查看nginx的版本信息
配置目录在 /etc/nginx/
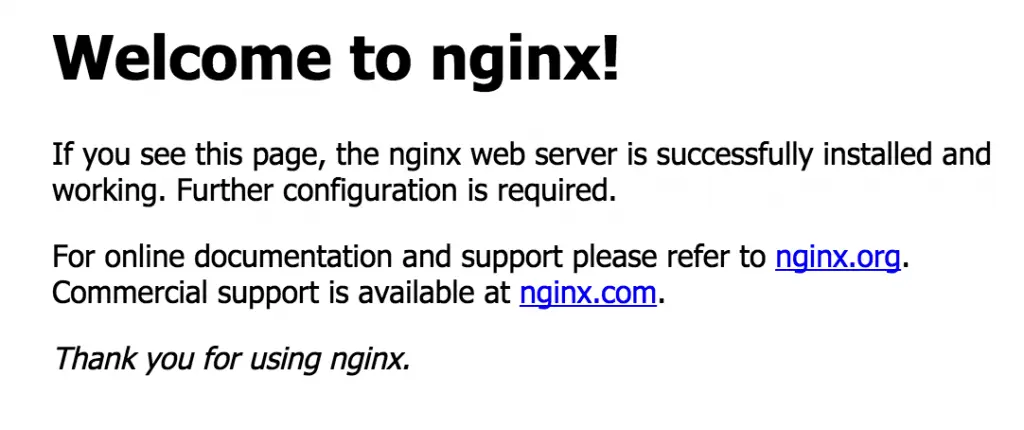
要测试是否安装正常可以访问你的远程主机ip ,若在本地部署可直接访问 localhost
显示 Nginx的欢迎页则表示已经安装好了
PHP-FPM安装
Nginx需要通过FastCGI运行PHP,PHP-FPM是一个PHP的FastCGI进程管理器,相比FastCGI静态的唤起CGI,PHP-FPM能根据访问的压力动态的唤起CGI进程和销毁以达到动态的调整CGI数量,这样可以有效的使用内存.另外它还有其他的优点:
- FPM可以平滑的重载php配置(新的worker用新的配置,已经存在的worker采用原配置处理,通过这种机制来平滑过度)
- 由于FPM是使用Unix-Socket来和服务器通讯,所以不用再配置cgi端口;(nginx 和 php-fpm 通信使用unix socket还是TCP)
- FPM有更好的状态输出和slowlog日志,502的时候能给出更多的错误细节.
安装PHP-FPM
Nginx默认是不会设置PATH_INFO环境变量的的值,需要php.ini使用cgi.fix_pathinfo=1的配置来完成路径信息的获取,但同时会带来安全隐患,所以建议把php.ini的cgi.fix_pathinfo=0设置为0
这样php就获取不到PATH_INFO信息,我们可以通过rewrite方式代替php中的PATH_INFO,例如:THINKPHP框架的phpinfo解决方案(URL_MODE = 2)
if (!-e $request_filename){
rewrite ^/(.*)$ /index.php?s=/$1 last;
}
}
也可以在nginx配置文件使用fastcgi_split_path_info指令来设置PATH_INFO值
(...)
fastcgi_split_path_info ^((?U).+.php)(/?.+)$;
fastcgi_param SCRIPT_FILENAME /path/to/php$fastcgi_script_name;
fastcgi_param PATH_INFO $fastcgi_path_info;
fastcgi_param PATH_TRANSLATED $document_root$fastcgi_path_info;
(...)
}
FPM和PHP的配置目录位于 /etc/php5/fpm/
启动 phpfpm
关闭 phpfpm
如果返回 unknown instance 请使用下面的命令终止
另外,以后安装完PHP扩展后需要重启FPM
配置Nginx运行PHP
创建根目录
创建一个local的文件目录
在local下新建一个index.php的文件作为访问页
php代码如下
修改相关的用户权限
sudo chmod -R 775 /var/www/
创建localhost的Nginx配置,Nginx安装完毕后在sites-avaiable目录下会有一份默认default的配置作为参考,我们将基于default修改一份访问localhost下的index.php的专属配置
sudo vim /etc/nginx/sites-available/local
local配置如下(主要设置了root路径以及开启了fastcgi)
listen 80 default_server;
listen [::]:80 default_server ipv6only=on;
<pre><code>root /var/www/local;
index index.php index.html index.htm;
# Make site accessible from http://localhost/
server_name localhost;
location / {
# First attempt to serve request as file, then
# as directory, then fall back to displaying a 404.
try_files $uri $uri/ =404;
# Uncomment to enable naxsi on this location
# include /etc/nginx/naxsi.rules
}
# Only for nginx-naxsi used with nginx-naxsi-ui : process denied requests
#location /RequestDenied {
# proxy_pass http://127.0.0.1:8080;
#}
#error_page 404 /404.html;
# redirect server error pages to the static page /50x.html
#
#error_page 500 502 503 504 /50x.html;
#location = /50x.html {
# root /usr/share/nginx/html;
#}
# pass the PHP scripts to FastCGI server listening on 127.0.0.1:9000
#
location ~ \.php$ {
fastcgi_split_path_info ^(.+\.php)(/.+)$;
# NOTE: You should have "cgi.fix_pathinfo = 0;" in php.ini
# With php5-cgi alone:
# fastcgi_pass 127.0.0.1:9000;
# With php5-fpm:
fastcgi_pass unix:/var/run/php5-fpm.sock;
fastcgi_index index.php;
include fastcgi_params;
}
# deny access to .htaccess files, if Apache's document root
# concurs with nginx's one
#
#location ~ /\.ht {
# deny all;
#}
</code></pre>
}
移除默认的default软链接(防止和local配置中的server_name冲突)
在sites-enabled创建local的软链接,这样才能使刚才的配置生效
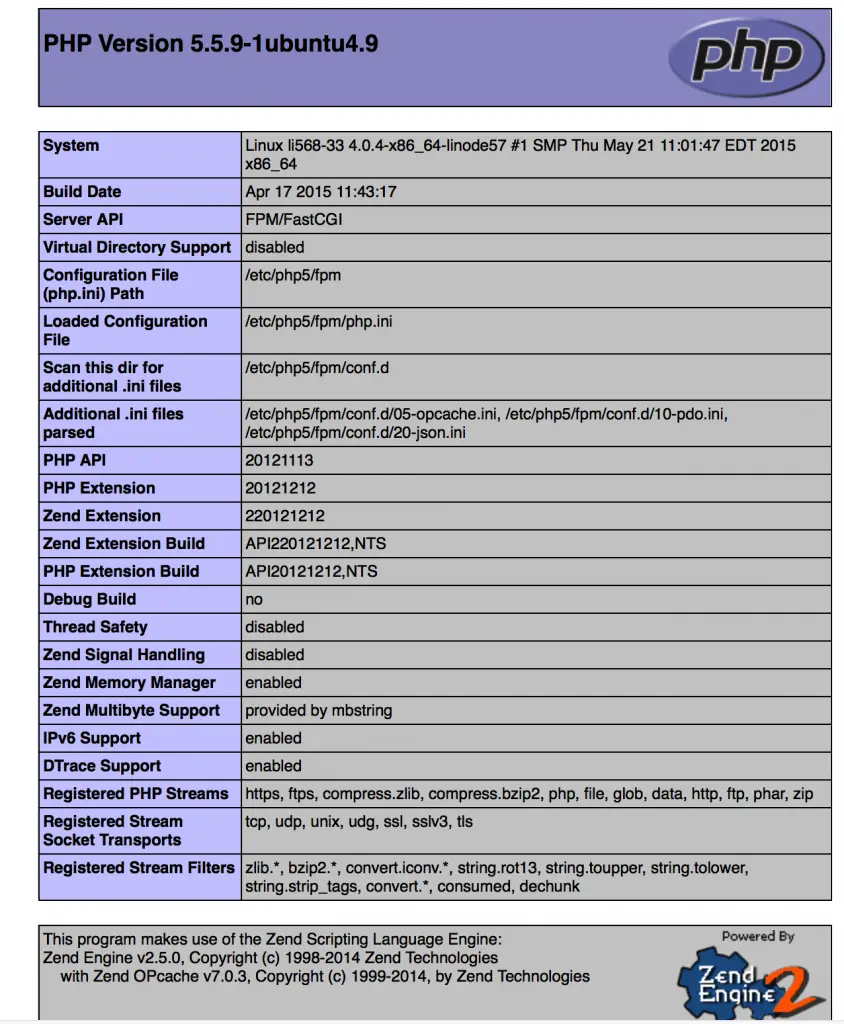
访问你的localhost或你的远程主机IP,可以看到phpinfo的页面则大功告成


